Voltas 183V DZU2 IR Remote — Codes, Protocol & Home Assistant Integration
Complete IR code database, fully decoded protocol documentation, and ready-to-use
Home Assistant (ESPHome) climate integration for the Voltas 183V DZU2 split AC.
Also includes Flipper Zero .ir files for direct import.
Features
74 captured IR signals
- every temperature, fan speed, mode, and feature combination
Full protocol decode
- 48-bit NEC-extended, Gray-coded temperature, timer encoding
ESPHome climate component
- shows up as a native AC in Home Assistant
Flipper Zero compatible
- pre-built
.irfiles (full + compact remote)
Timer support
- 0.5h to 24h, auto-off and auto-on
All features
- Cool, Heat, Dry, Fan, Swing, Turbo, Sleep, Eco, Follow Me, Display toggle
Project Structure
voltas_ir_mapping/
  README.md                       -- this file
  PROTOCOL.md                     -- decoded IR protocol reference
  LICENSE                         -- MIT

  record_codes.py                 -- interactive Python recorder
  json_to_flipper.py              -- convert JSON to Flipper Zero .ir format
  voltas_183v_dzu2_codes.json     -- all recorded codes database
  Voltas_183V_DZU2.ir             -- Flipper Zero / IR remote (full database)
  Voltas_183V_DZU2_Remote.ir      -- Flipper Zero / IR remote (compact)

  voltas_ir_capture/              -- Arduino sketch: IR receiver/decoder
    voltas_ir_capture.ino

  voltas_ir_send/                 -- Arduino sketch: IR transmitter (test)
    voltas_ir_send.ino

  esphome/                        -- Home Assistant / ESPHome integration
    voltas_ac.yaml                -- ESPHome device config
    secrets.yaml.example          -- WiFi/API credential template
    components/
      voltas_ac/
        __init__.py               -- component registration
        climate.py                -- platform config schema
        voltas_ac.h               -- climate component (protocol impl)
Hardware
| Component | Purpose |
|---|---|
| Arduino Uno R4 WiFi | Capture and test IR codes |
| HW-477 (VS1838B) | 38kHz IR receiver module |
| IR LED + 100 ohm | IR transmitter (test) |
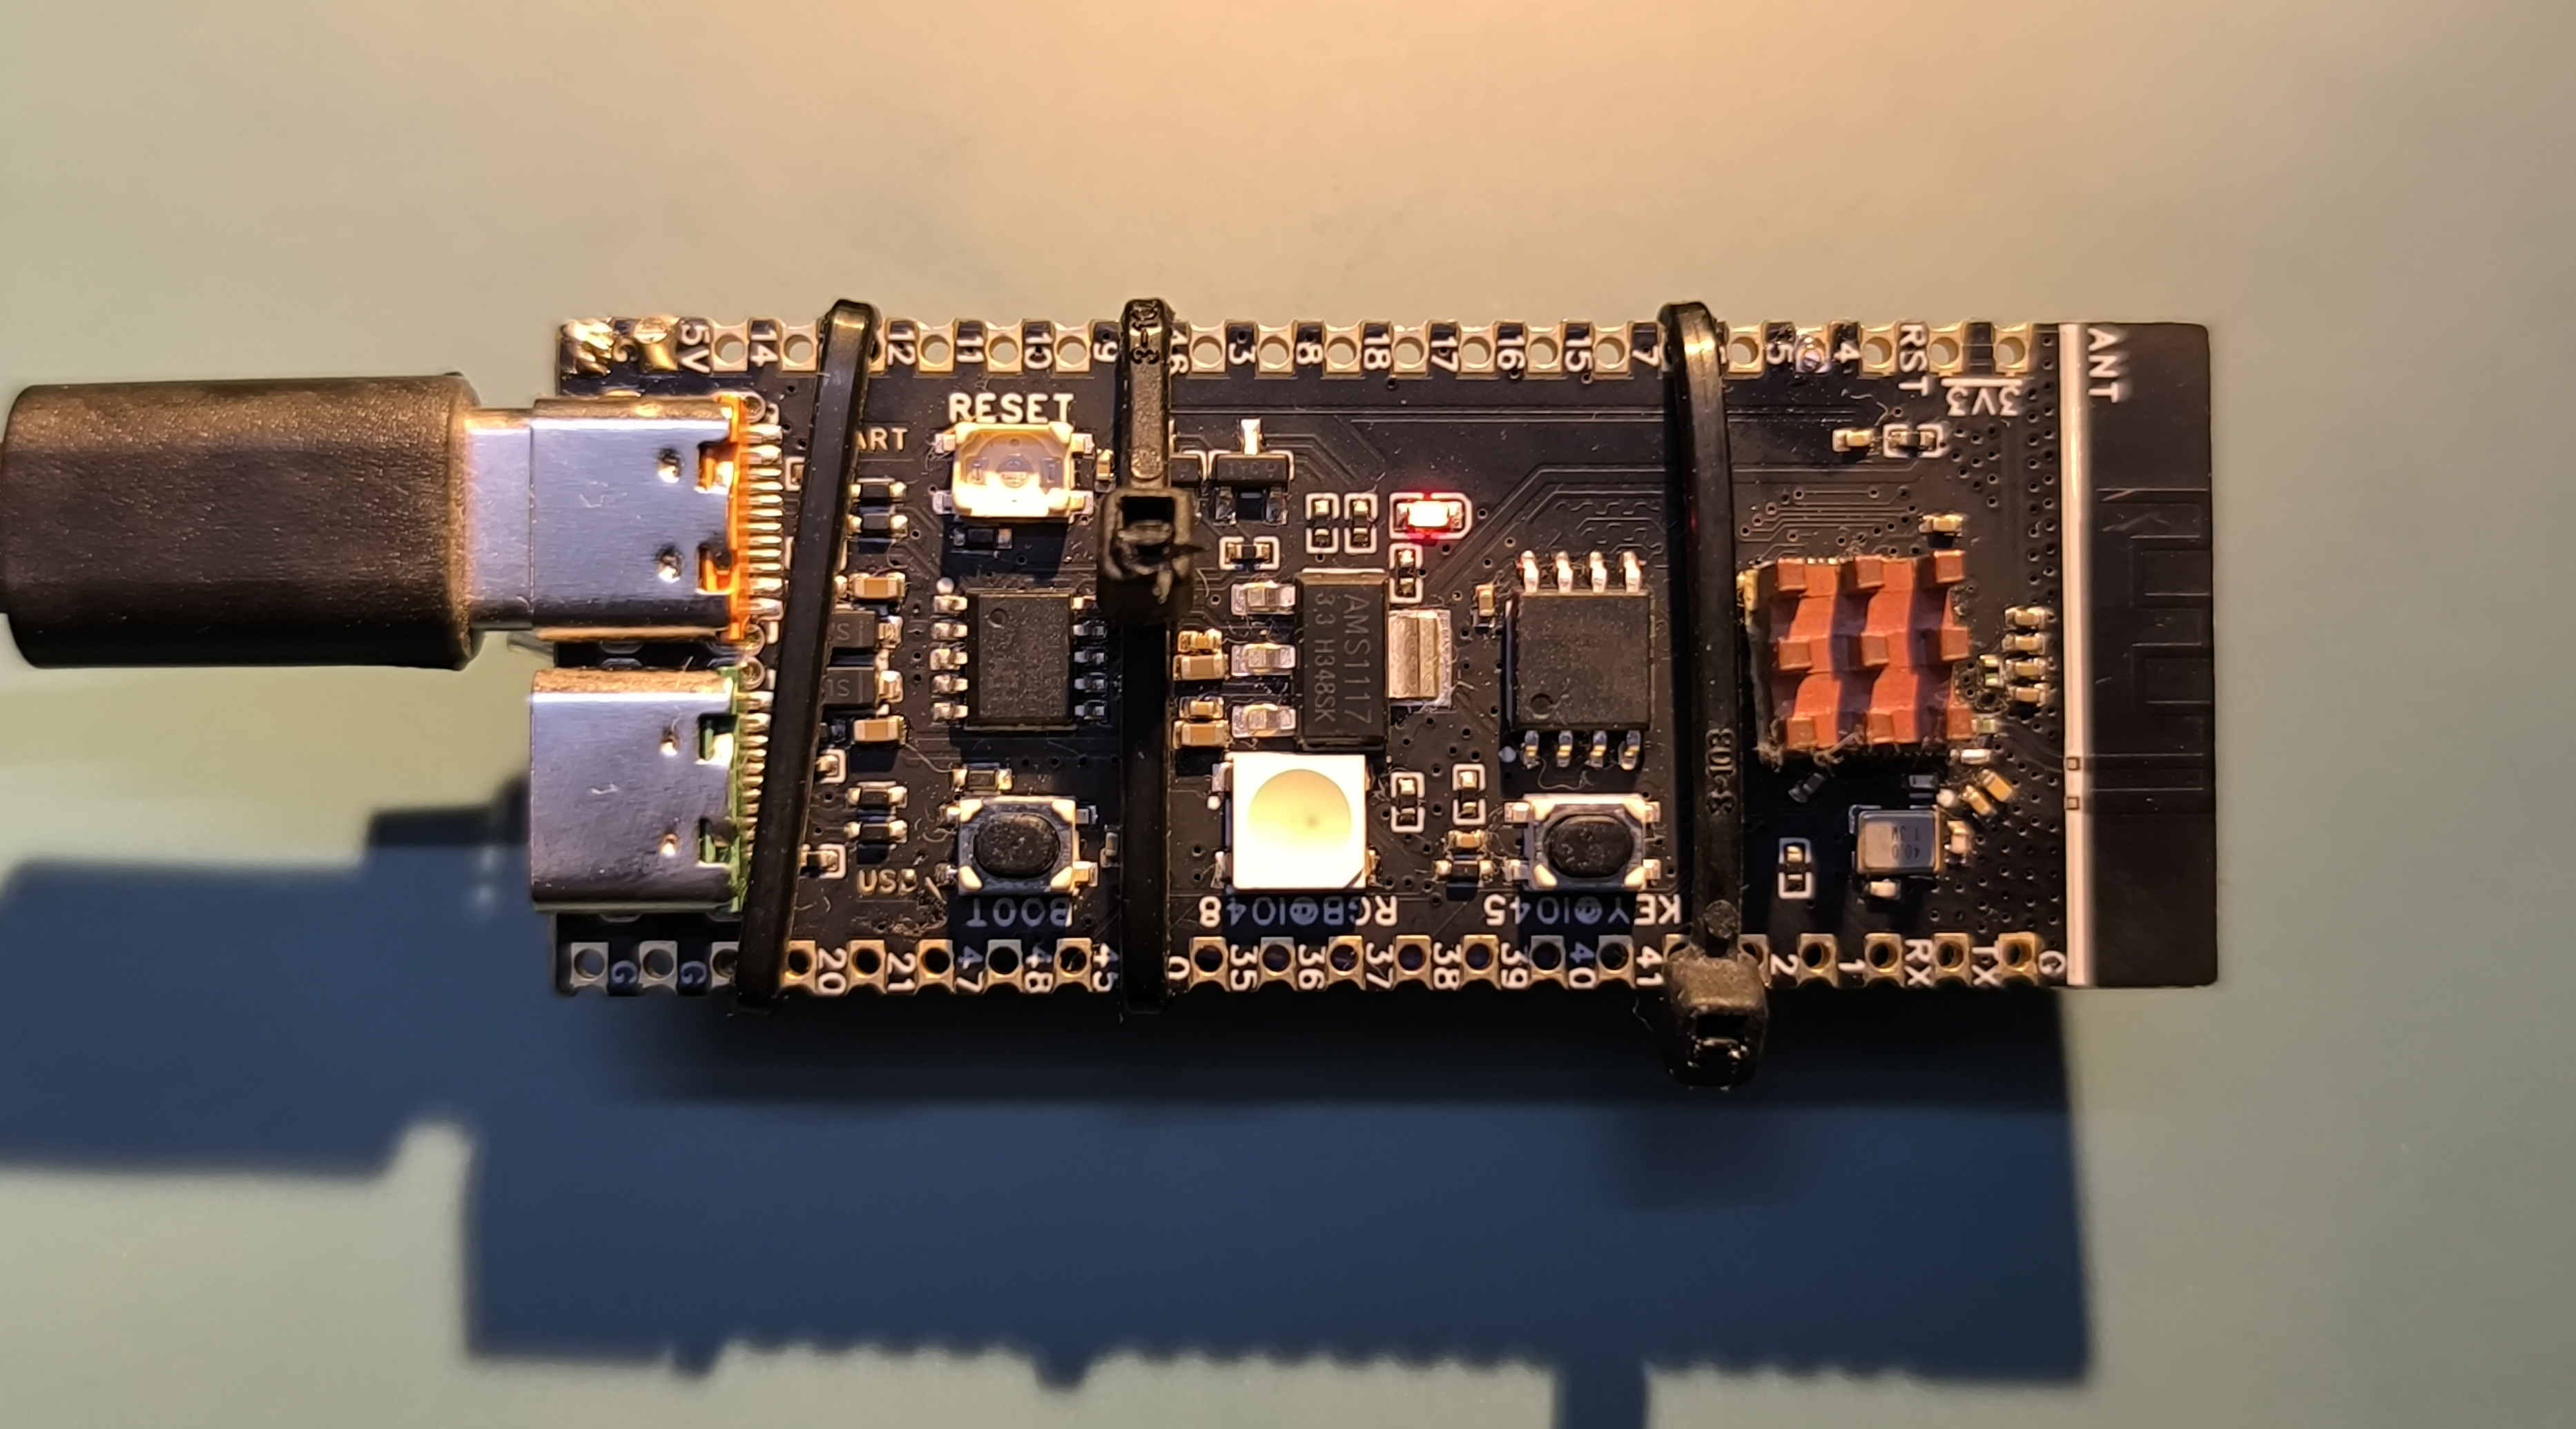
| ESP32-S3 | ESPHome deployment to HA |
Yes, the ESP32-S3 is overpowered for this project but that’s what I had laying around.
Protocol Summary
48-bit NEC-extended variant at 38kHz. See PROTOCOL.md for full details.
B0    B1    B2       B3      B4               B5
0xB2 0x4D command ~B2 (temp|mode) ~B4- Temperature: Gray-coded nibble in B4 upper 4 bits (17-30C)
- Fan speed: encoded in B2 (High=0x3F, Med=0x5F, Low=0x9F, Auto=0xBF)
- Mode: lower nibble of B4 (Cool=0x0, Dry=0x4, Heat=0xC)
Quick Start
1. Capture codes (Arduino)
# Flash receiver sketch
arduino-cli compile --fqbn arduino:renesas_uno:unor4wifi voltas_ir_capture/
arduino-cli upload  --fqbn arduino:renesas_uno:unor4wifi --port /dev/ttyACM0 voltas_ir_capture/

# Run interactive recorder
python3 record_codes.py
2. Deploy to Home Assistant (ESP32-S3)
cd esphome/
cp secrets.yaml.example secrets.yaml
# Edit secrets.yaml with your WiFi credentials
esphome run voltas_ac.yaml
The AC appears as a Climate entity in Home Assistant with:
- Climate: temperature (17-30C), modes (Cool/Heat/Dry/Fan), fan speeds, swing
- Buttons: Turbo toggle, Display toggle
- Numbers: Timer Off (0-24h), Timer On (0-24h)
- Switches: Sleep, Eco, Follow Me
3. Flipper Zero / IR Remote App
The pre-built Voltas_183V_DZU2.ir file can be imported directly into:
- Flipper Zero: Copy to
SD Card/infrared/on the Flipper - IR remote apps: Any app that supports the Flipper
.irformat
To regenerate after recording new codes:
python3 json_to_flipper.pyAdding New Codes
Step 1: Set up the capture hardware
Wire the VS1838B receiver to the Arduino:
HW-477 Module     Arduino Uno R4 WiFi
  S (Signal)  -->   Pin 2
  + (VCC)     -->   5V
  - (GND)     -->   GND
Step 2: Flash the receiver sketch
arduino-cli compile --fqbn arduino:renesas_uno:unor4wifi voltas_ir_capture/
arduino-cli upload  --fqbn arduino:renesas_uno:unor4wifi --port /dev/ttyACM0 voltas_ir_capture/
If the port is busy:
# Find what is using the port
lsof /dev/ttyACM0

# Kill it
fuser -k /dev/ttyACM0

# List available ports
arduino-cli board list
Step 3: Run the recorder
python3 record_codes.pyThe recorder will:
- Auto-detect the Arduino serial port
- Load any existing codes from
voltas_183v_dzu2_codes.json - Wait for IR signals from the receiver
- Show decoded hex bytes for each capture
- Detect duplicate signals automatically
- Prompt you to label each new signal
- Save after every capture (safe against crashes)
Step 4: Capture the signal
- Point the remote at the VS1838B
- Set the desired AC state in the app
- Press the button to transmit
- Type a descriptive label when prompted, for example:
cool_24c_fan_automode_heat_27c_fan_highswing_onsleep_mode_on
Step 5: Analyze the new code
After capturing, check the hex bytes against the protocol:
B0 B1 B2 B3 B4 B5- B0/B1 should be
B2 4D,B5 4A, orBA 45 - B3 should equal
~B2 - B5 should equal
~B4(except timer, sleep off, eco commands) - Compare B2 and B4 against the tables in PROTOCOL.md
Step 6: Update the ESPHome component (if needed)
If the new code reveals a feature not yet in the ESPHome component (e.g., a new mode, turbo, sleep timer):
- Open
esphome/components/voltas_ac/voltas_ac.h - Add the new B2/B4 constants
- Update
traits()to expose the new feature - Update
transmit_state_()to construct the new frame - Recompile and flash the ESP32-S3
Example — adding a new toggle feature:
// In the constants section:
static const uint8_t MY_FEATURE_DATA = 0xNN;  // from captured B4

// Add a public method:
void send_my_feature() {
  this->send_frame_(SPECIAL_ADDR_HI, SPECIAL_ADDR_LO, SPECIAL_CMD, MY_FEATURE_DATA);
}
Then in voltas_ac.yaml, expose it as a button:
button:
  - platform: template
    name: 'My Feature'
    on_press:
      - lambda: |-
          ((esphome::voltas_ac::VoltasAC*)id(voltas_ac_climate))->send_my_feature();
Recorder commands
During recording, the following inputs are available:
| Input | Action |
|---|---|
| label | Save the signal with that label |
s | Skip this signal |
r | Redo — discard and wait for next signal |
| Enter | Auto-label as signal_N |
| Ctrl+C | Stop recording and print summary |
When a duplicate signal is detected:
| Input | Action |
|---|---|
s | Skip (default) |
k | Keep both with a new name |
o | Overwrite the existing entry |
When a duplicate label is entered:
| Input | Action |
|---|---|
r | Rename (default) |
o | Overwrite the existing entry |
s | Skip |
Wiring Reference
IR Receiver (capture)
HW-477 Module     Arduino Uno R4 WiFi
  S (Signal)  -->   Pin 2
  + (VCC)     -->   5V
  - (GND)     -->   GND
IR Transmitter — simple (1-2m range, testing)
Arduino Pin 3 --[100 ohm]--> IR LED (+) --> IR LED (-) --> GND
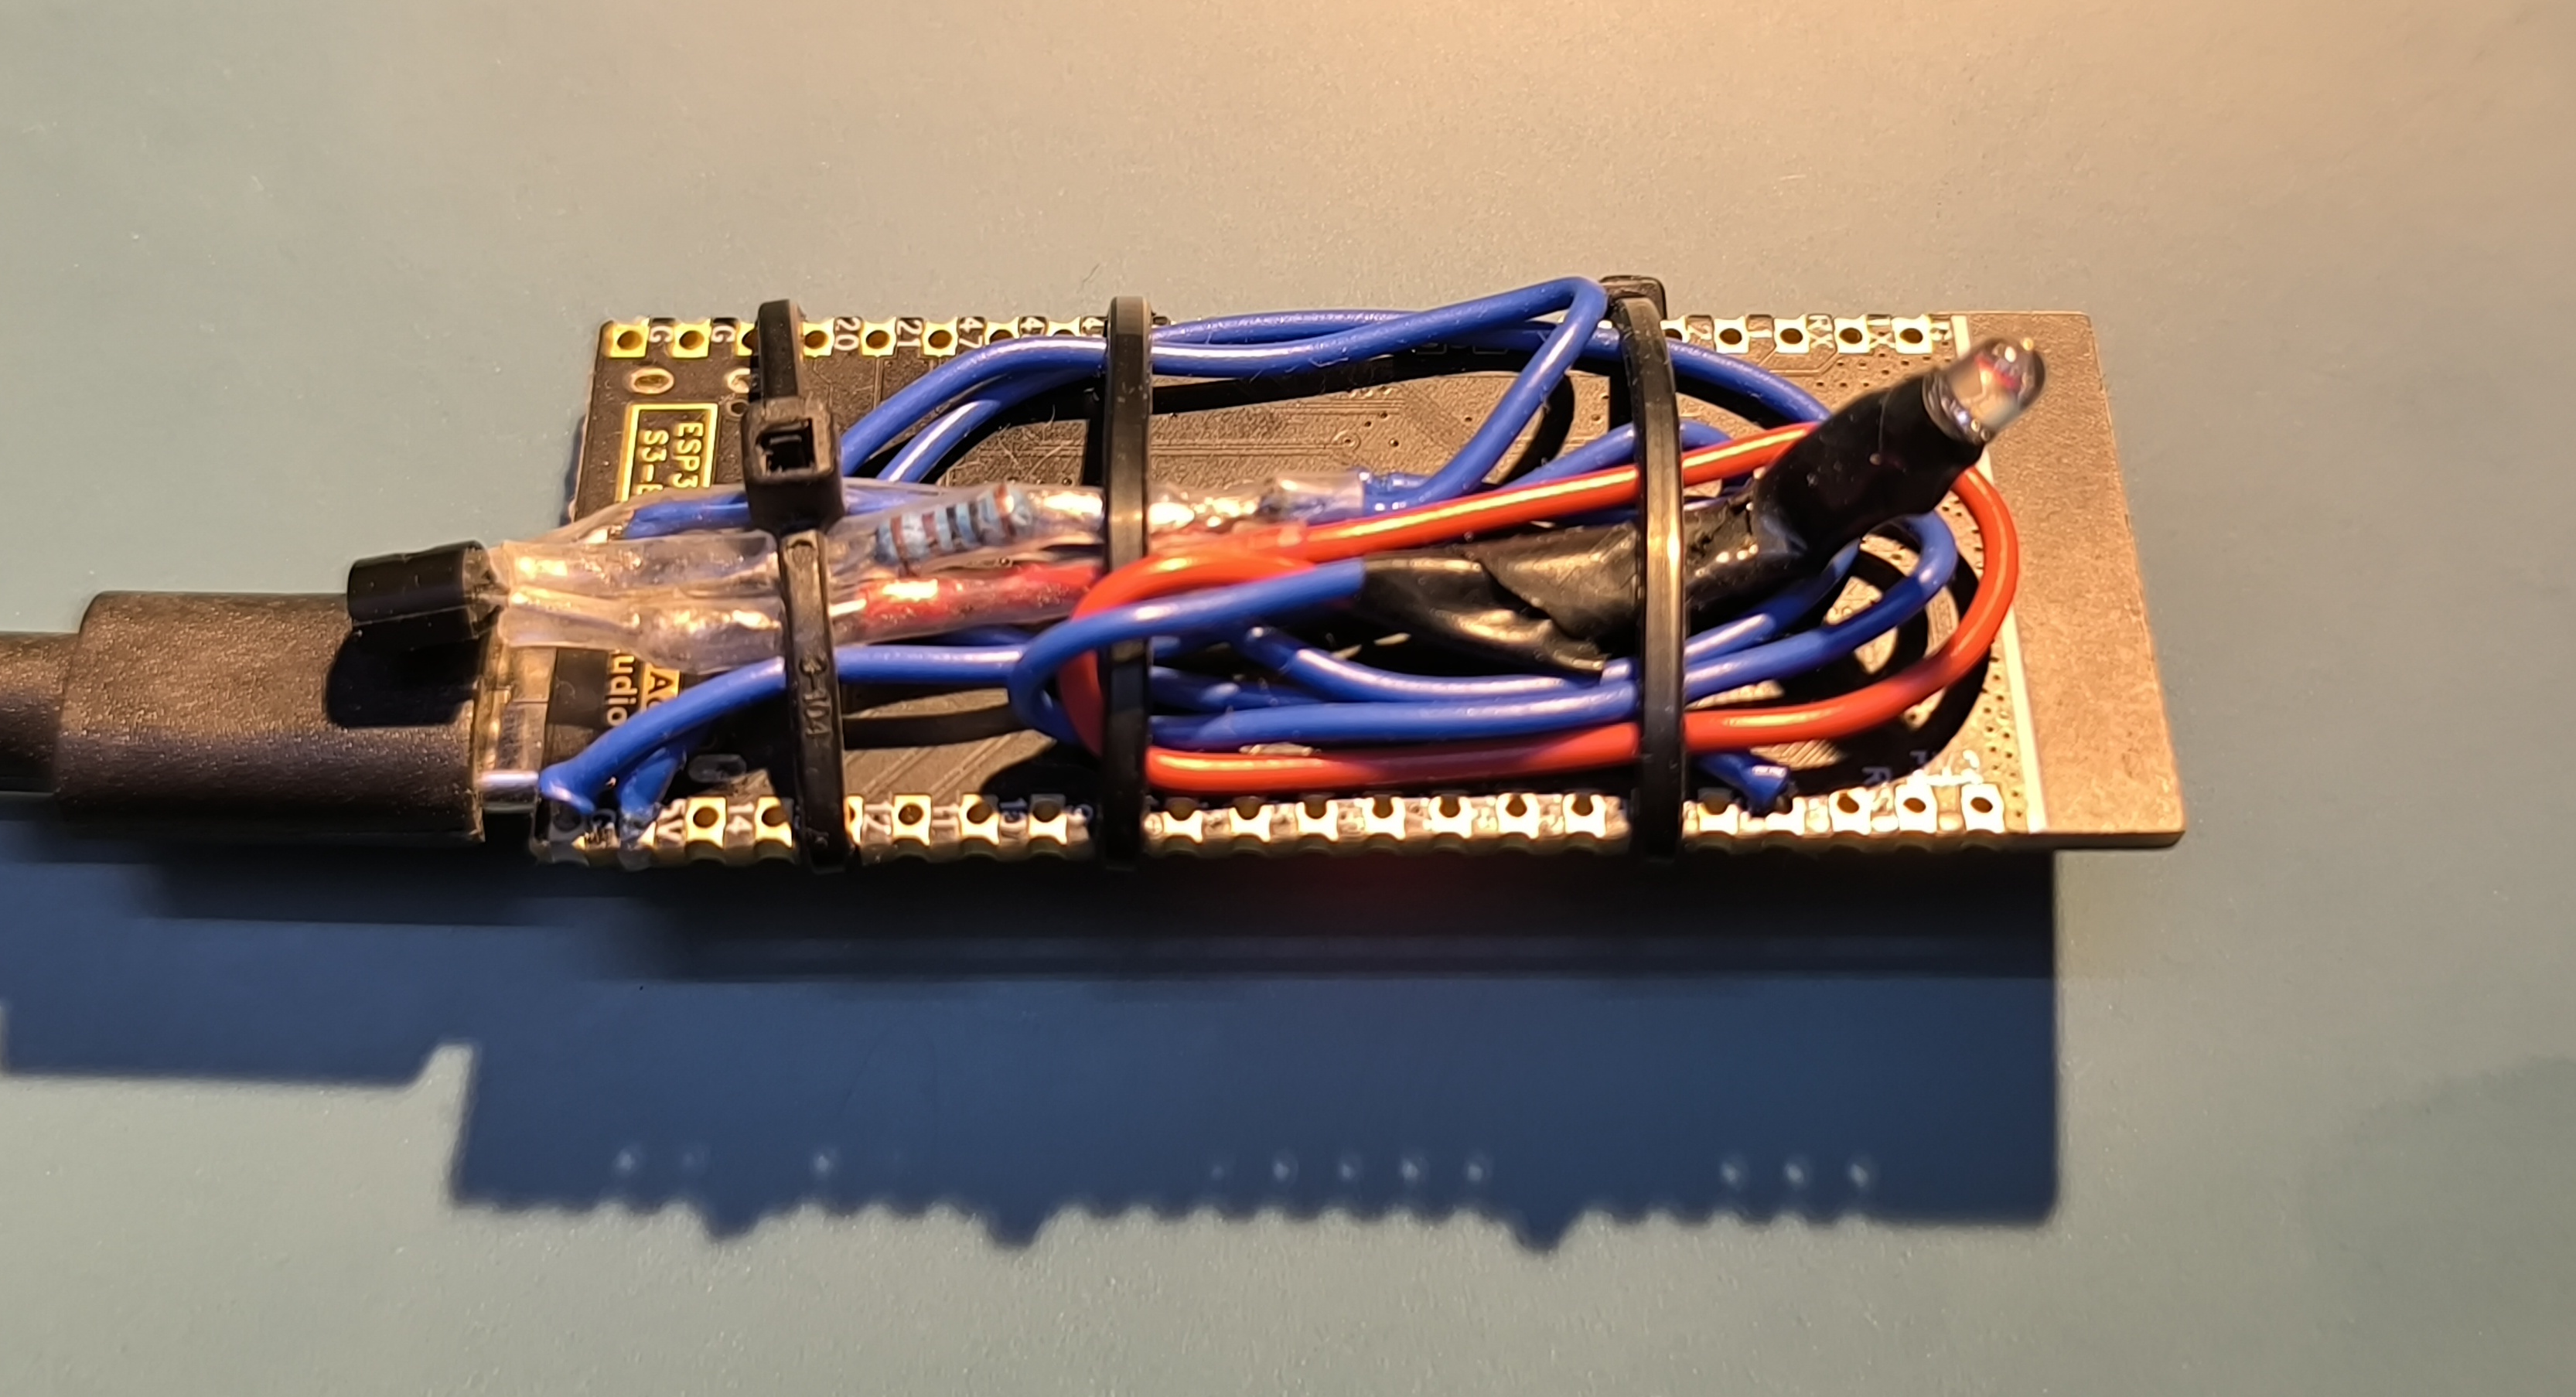
ESP32-S3 GPIO4 --[100 ohm]--> IR LED (+) --> IR LED (-) --> GNDIR Transmitter — transistor (3-5m range, production)
Pin 3/GPIO4 --[1K ohm]--> NPN Base
                           NPN Emitter --> GND
                           NPN Collector --> IR LED (-)
                                            IR LED (+) --[47 ohm]--> 5V/3.3V
NPN transistor: 2N2222, BC547, or similar.
Dependencies
- IRremote v4.x (Arduino library, for capture/test sketches)
- pyserial (Python, for record_codes.py)
- ESPHome (for Home Assistant deployment)
- Arduino CLI or Arduino IDE
- Arduino Uno R4 WiFi board support (
arduino:renesas_uno)
Source
Protocol discovery started from IRremoteESP8266 PR #1243 which added support for the Voltas 122LZF Window AC. The 183V DZU2 split AC uses a different 48-bit protocol and was reverse-engineered from the original remote.
Compatible Models
Tested on the Voltas 183V DZU2 split/inverter AC. May also work with
other Voltas models using the same 48-bit NEC-extended protocol with
device address B2 4D. If your Voltas remote produces similar byte
patterns, this integration should work directly or with minor modifications.
License
This project is licensed under the MIT License. See the LICENSE file for details.